Table of Contents
depth of field (DOF)
see also:
- some comparisons between Micro Four Thirds and full frame:
introduction
- only one generally flat plane is actually in true focus when we take a photograph.
- depth of field refers to how much either side of this plane of focus is acceptably sharp when viewed at a given magnification
- one of the reasons photographers choose larger sensors or films is so that they can get more shallow DOF and thus create more background and foreground blurring which then allows the subject to be emphasised and “visually pop”.
- point and shoot cameras with their small sensors generally have a very wide DOF and thus everything is almost sharp.
- landscape photographers generally want to maximise DOF and even resort to changing the plane of focus in relation to the camerato achieve this by using tilt lenses.
- the amount of background blurring is called convolution and is not the same as DOF
- this is determined by different equations to DOF, namely:
- background blur of infinity point source = focal length x image magnification / f-stop
- the aesthetic quality of background blurring is called bokeh and again has little to do with DOF.
DOF equation
- The near and far distance values of depth of field can be calculated as:
- d = s/[1 ± ac(s-f)/f²]
- with plus in the denominator used for the near, and minus — for the far value. The notation is:
- s — the subject distance (measured from the lens entrance pupil)
- f — lens focal length
- a — aperture (or F-stop), like e.g., 2.8
- c — the diameter of the acceptable circle of confusion.
- an approximation for portrait distances is:
- DOF is proportional to coc x effective f-stop / magnification2
- need everything sharp then set the focus to the hyperfocal distance:
- sh = (f²/ac) + f
degree of background or foreground blurring
- degree of blurring = focal length x subject magnification x (subject to background distance) / (f-stop x (camera to background or foreground distance))
- thus when background is distant, the equation simplifies to = (aperture in mm) x subject magnification
- ie. the degree of distant blurring is proportional to the physical size of the aperture in mm (remember f stop = focal length in mm / aperture in mm)
- thus if shooting at the same subject magnification and lens f stop, degree of background blur will increase in direct proportion to the lens focal length
- thus if shooting with a 2x crop sensor camera such as Micro Four Thirds, and the background is a long way behind the subject you will get IDENTICAL degree of background blurring and subject magnification as with a full frame camera if you use the SAME LENS (ie. same actual focal length and aperture) but double your camera-subject distance (you will also compress the background perspective though!)
- for a background distance > 10 x the subject distance, the degree of background blur remains practically constant as background distance increases for a given subject magnification, lens focal length and aperture.
- when background is very close to the subject compared to camera to subject distance, for a constant subject magnification, the equation simplifies to degree of local blurring is proportional to physical aperture size = 1 / (f-stop x crop factor)
- ie. the degree of LOCAL BLURRING near the subject is related to f stop and not to focal length.
comparing lenses keeping subject magnification constant
- we often wish to know which focal length and aperture will give us the most background blurring on a given sensor size
- one will always get more background blurring at a given subject magnification and aperture with longer focal length lenses
- but what if we compare different aperture lenses?
- using the above equation, one can create an equation for the critical background distance at which one lens combination will give equivalent blurring to another lens combination1):
- D=((f2-f1)*d*F1*F2)/(i*f1*F2-i*f2*F1)
- where D = critical background distance in meters, F1 and F2 are lens focal lengths in mm, and f1 and f2 lens f-stops, i = sensor size in mm, d = field of view at the focus point in meters
- for a APS-C sensor (22mm), for a tight portrait, for example, this critical distance is 4m when comparing a 250mm f/5.6 lens vs a 50mm f/1.8 lens, thus for backgrounds more than 4m from the subject, the 250mm f/5.6 lens will give more background blurring.
some basic rules of DOF
- for a given subject magnification and sensor size, the ONLY determinant of DOF is lens aperture and NOT lens focal length
- using different lens focal lengths on the same sensor requires different camera to subject distance to maintain the subject magnification, this is why lens focal length does not affect DOF in this scenario.
- for backgrounds very close to the subject (much closer than the camera is to the subject), the degree of background blurring is mainly dependent upon f-stop not focal length. For distant backgrounds, blurring is proportional to focal length / f-stop.
- stopping down the lens 2 stops gives twice the DOF, while opening it up 2 stops gives 50% less DOF
- stopping down the lens 7 stops gives 10x the DOF
- to compare DOF of a lens-camera combination to 35mm full frame, multiply the aperture and the focal length by the crop factor of the sensor.
- ie. a 50mm f/2.0 lens on a 2x crop Micro Four Thirds system gives similar DOF and angle of view and perspective as a 100mm f/4.0 lens on a 35mm full frame camera
- for portraits one should usually aim to get everything within the DOF from ears to tip of nose, and thus a 100mm f/4 lens on a 35mm full frame camera (or 45mm f/1.8 on Micro Four Thirds) is ideal for this while giving reasonable background blurring at a subject distance of ~2m.
- the ideal focal length in 35mm full frame terms for portraits is generally 80-120mm range. Shorter focal lengths force one to get close to the subject which causes distortion of facial features. Longer focal lengths force one to get further away and lose contact with the subject.
- see portrait lenses
some tricks for creating shallow DOF portraits
- use a telephoto lens with a wide aperture for maximally shallow DOF and ensure background is a reasonable distance away BUT if this gives you too narrow a perspective and you are losing all your background, consider either:
- use the Brenizer method to create a panorama stitch using the same lens with manual focus or AF locked on your subject distance for each shot
- use a wider angle lens with wide aperture and then blur the background out further in post-processing
- this is what the latest smartphones do for you automatically
some examples for portraits
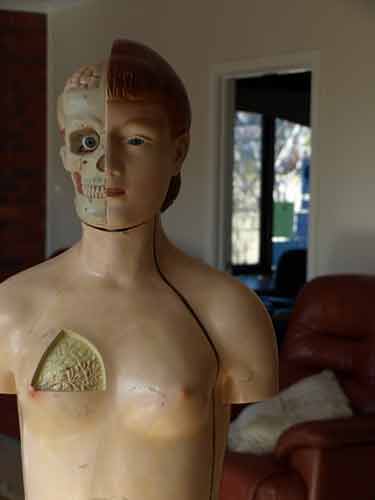
A normal f/5.6 kit lens on a cropped sensor camera (in this case, equivalent to 84mm f/11) generally is not able to blur the background well for portraits:
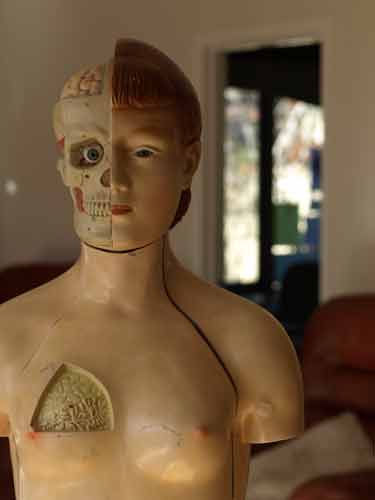
A lens equivalent to 100mm f/4 on a full frame camera such as the Olympus ZD 50mm f/2.0 2x crop lens is much better:
This one is taken at f/4 (ie. equivalent to 100mm f/8 on full frame):
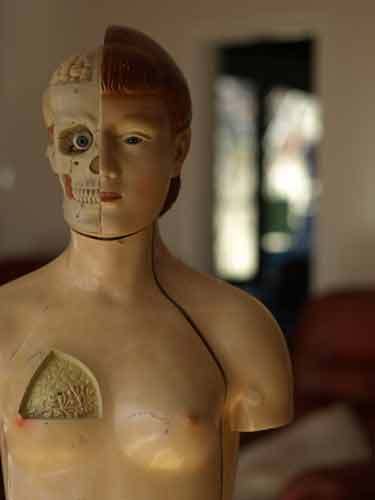
And this lens wide open at f/2.0 (ie. equivalent to 100mm f/4 on full frame) becomes a very nice portrait lens:
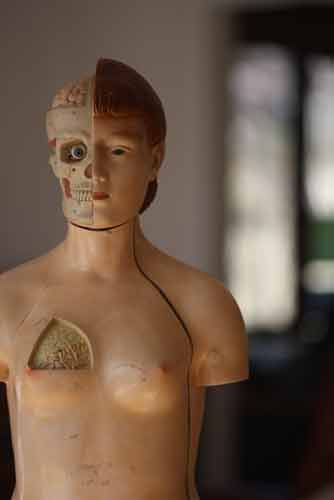
While a lens equivalent to 170mm f/2.8 such as either a Canon 135mm f/2.0 on a 1.3x crop camera (as shown here) or a Rokinon 85mm f/1.4 lens on a 2x crop camera will give much shallower DOF and allow more background blurring:
NOTE: in the above images, subject magnification has been maintained constant, but the change in effective focal length while not altering DOF (this was achieved by altering effective aperture), has meant the camera must be further from the subject, and the background becomes more compressed (“perspective” is altered) as the effective focal length is increased.


