Last week I went on a road trip to outback Australia to play with my new Olympus OM-D E-M5 Micro Four Thirds camera and primarily used it with the lovely but moderately expensive Olympus m.Zuiko Digital 12mm f/2.0 lens.
I love infrared photography and use a Hoya R72 infrared filter as my main IR filter.
This article is NOT about using a modified camera with IR blocking filter removed but an E-M5 straight from the retailer.
Unfortunately, using an optical viewfinder as on dSLRs makes hand held use almost impossible as the filter is so dark there is little that can be seen through it unless pointed at the brightest of scenes.
Furthermore, the reduction in light requires either long exposures or high ISO, even with wide aperture f/2.0 lenses.
I was just able to achieve reasonable hand held IR shots with my Panasonic GH-1 combined with the Panasonic Leica-D 25mm f/1.4 lens at f/1.4 in bright sunlight, but the amazing E-M5 takes IR even further thanks to its built-in image stabilisation system, and much better image quality at high ISO.
Hand held infrared with the E-M5 becomes a fun enjoyable experience as long as you have a relatively bright scene, a Hoya R72 filter and a f/2.8 or wider aperture lens.
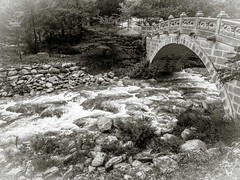
So let’s see what can be done in the bright sun in outback Australia with its blue skies (although unfortunately, few trees to show off the Wood’s effects):

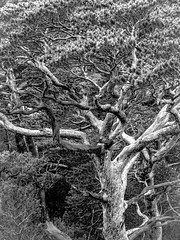
This is essentially straight from the camera (although cropped in Lightroom a touch).
Shot details: Olympus 12mm f/2.0 lens at f/2.8 with ISO 400 and shutter 1/8th sec hand held.
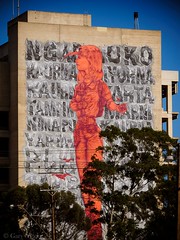
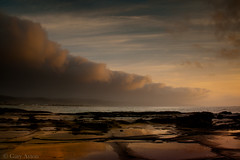
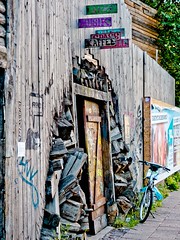
Broken Hill sculptures at sunset:
The above shot was with Olympus 12mm f/2.0 lens at f/2.8 with ISO 400 and shutter 1/6th sec hand held and was processed in Lightoom with split toning to provide the sunset tones instead of B&W.
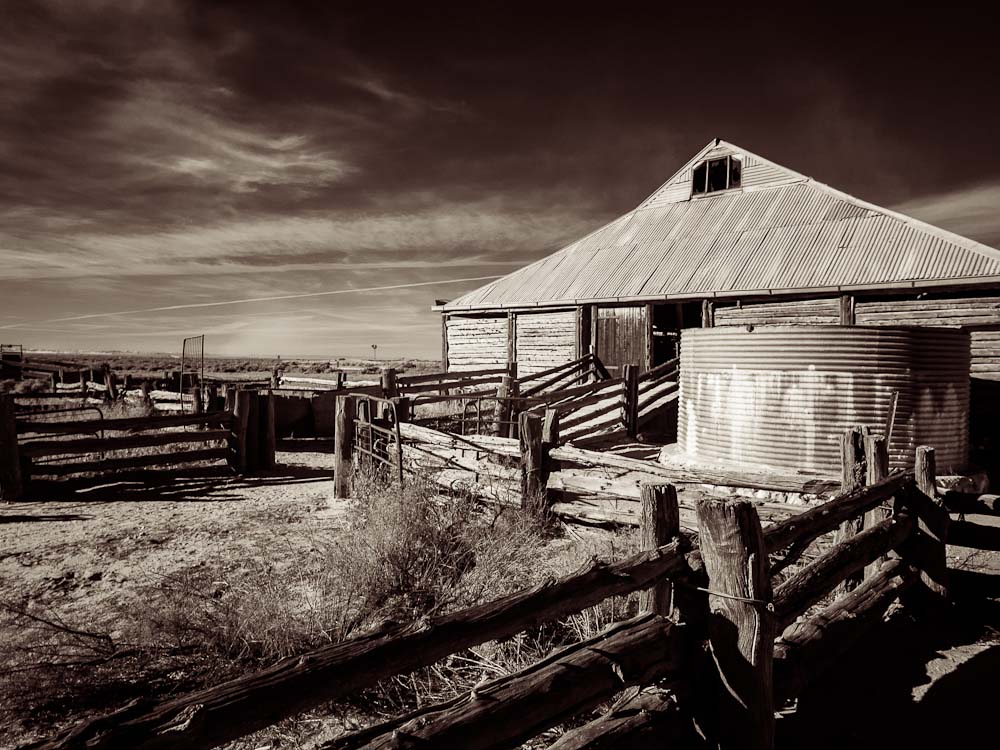
Shearing shed on shores of the fossilised 18,000 year dry Lake Mungo:
The above shot is my favorite, and one of the few times during the week that there was actually some clouds in the sky.
It was shot with Olympus 12mm f/2.0 lens at f/4 with ISO 400 and shutter 1/5th sec hand held and was processed in Lightoom with split toning to provide the sepia-like toning instead of B&W.
Setting up the Olympus E-M5 for B&W IR shots straight from the camera:
- set Picture Mode to Monotone with Contrast +2 (I like contrasty IR shots), and B&W filter to Red. Of course you can play with these further and add Pict. Tone of Sepia instead of Neutral.
- set ISO to 200-400 for sunny scenes
- set exposure mode to aperture priority and choose a wide aperture to give a fast enough shutter speed (remember the 12mm lens on the E-M5 you could use even down to half a second with care hand held!) but sufficient depth of field (eg. f/2.8)
- ensure IS is set to IS1
- adjust exposure compensation so that you minimise blown out highlights as these tend to create hot spots from IR flare within the lens (I often use minus 0.5 to minus 0.7)
- place the IR filter on the lens
- you can easily compose and autofocus even with the IR filter in place – just awesome!


