Milky Way astroscapes are great fun to capture but they are one genre of photography where meticulous planning, gear selection, good fortune and substantial post-processing are required to obtain reasonable results – this is not one for a smartphone to attempt!
First the planning:
- location, location, location – dark skies, and preferably an interesting foreground
- timing, timing, timing
- need a moonless sky with Milky Way core visible
- in southern Australia, Aug-Oct are the best times, by Nov, the core will be too low in the west at sunset
- weather – clear skies, minimal wind, your best chances are when a high pressure system is overhead
- use Photopills smartphone iOS app to help you out here
- this uses augmented virtual reality to super-impose the Milky Way image on your iPhone’s camera view of a location – just remember to set the date and time!
Now the gear selection requirements:
- camera with relatively low image noise at ISO 1600-3200
- lens with minimal aberrations to give nice star shapes
- if shooting single shot like me, then an ultra wide angle lens to get as much of Milky Way in as possible
- wide aperture lens to allow enough light as possible
- lens warmer to stop dew forming on the front of your lens and destroying your images
- sturdy tripod
My head to head competition – Olympus vs Sony full frame
As I do not have a wide aperture, ultra wide angle full frame lens for the Sony a7II full frame mirrorless camera, this little competition is a little unfair to the Sony as the chosen lens is the superb, very heavy, bulky, ultra-expensive ($3000+) Canon TS-E 17mm f/4 tilt-shift lens.
And to compete, the wonderful Olympus OM-D E-M1II Micro Four Thirds mirrorless camera with the very compact, light, unique Olympus micro ZD 8mm f/1.8 fisheye lens.
The Olympus combo gives a number of advantages:
- small, light, compact, weatherproof – great if you have to hike to a location in the dark!
- f/1.8 aperture – 2 stops brighter than the Canon’s f/4, but then the supposed advantage of the full frame sensor’s 2 EV better high ISO noise should nullify this as one can just increase the Sony’s ISO to 2 stops higher
- much wider field of view better captures the extent of the Milky Way, while theoretically allowing longer shutter speed as star trails should be less evident
- much more affordable lens
Let’s first view the unprocessed images:
Click on the images to view larger versions, note there is mild green auroral glow on the horizon in the centre, while there is light pollution glow from a nearby city visible on the right side of the Olympus image.
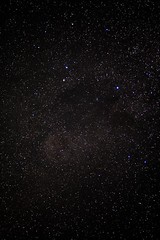
| Olympus E-M1 II f/1.8 30sec ISO 1600 | Sony a7II f/4, 20sec ISO 6400 | |
| full image | 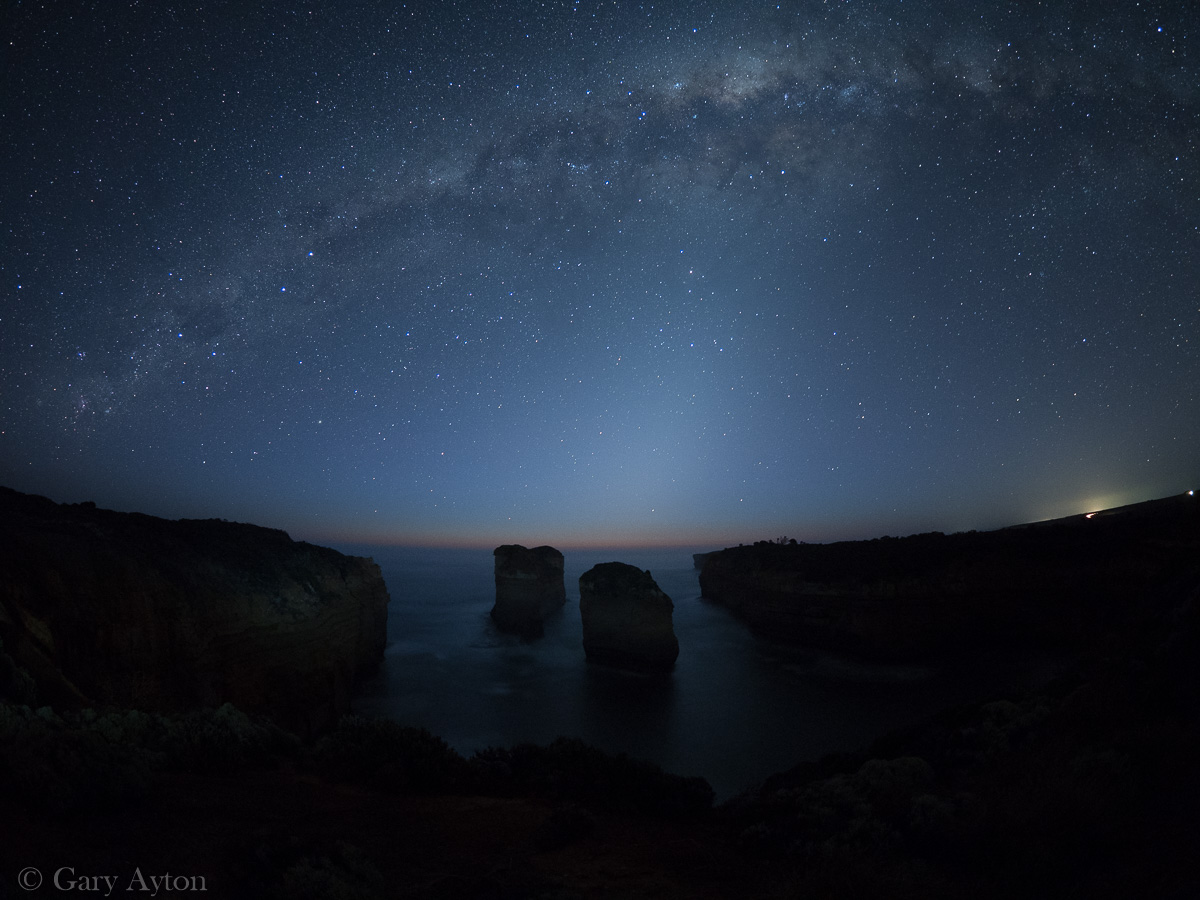 |
 |
| crop of central region |  |
 |
Well, this was extremely unexpected for me!
The Sony image was taken 30 minutes after the Olympus image but both were taken when the sky was dark more than 90 minutes after sunset.
Theoretically, the Olympus image is just a fraction over 0.5 EV more exposure thanks to the 30 secs exposure allowed vs 20secs for the Sony, but the image is far brighter and with much less noise, this is partly explained by the western sky being significantly lighter in the earlier Olympus image (although not that noticeable to the naked eye) which partly explains the brightness difference, and the “brighter” stars near the horizon in the Sony image.
Both images had in-camera long exposure noise reduction enabled, white balance set to 3400K but no post-processing in Lightroom other than resize for web for the full image, and cropping for the cropped images, with both having identical LR default noise reduction settings of zero luminance and 25 for color, while sharpening was the LR default of 25.
On the cropped images, there is some star trailing on the Olympus image, so if you are really fussy about this, then you may need to restrict exposure to 20secs and perhaps use ISO 3200.
Now a final post-processed image:
As a result, I didn’t bother processing the Sony images, and here is an example of another Olympus image with some light painting with an LED torch during the exposure, which has had significant post-processing – but even this will be too dark for printing, and needs to be brightened substantially for most prints – depending upon personal taste of course.
If I were to use the Sony again, I would need to buy a wider, brighter lens such as a Samyang 14mm f/2.8 to keep ISO at 1600-3200, or consider doing a panoramic stitch with a longer focal length f/1.4 or f/2 lens.
Unfortunately, the Sony cameras do have the “star eating” issue outlined in the previous post here.
For quick and easy single shot, then the Olympus 8mm f/1.8 fisheye is a reasonable option and one could use an old cheap, Olympus OM-D E-M5 camera (you don’t need the E-M1 II for this) – hopefully someone will bring out a 7mm f/1.4 non-fisheye lens with minimal aberrations for even better results, although if you are happy to do pano stitching , then the Panasonic 12mm f/1.4 lens is worth considering.


