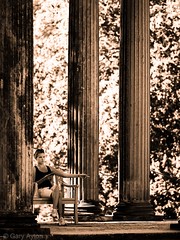
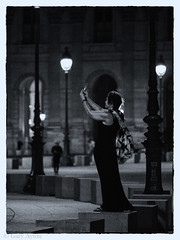
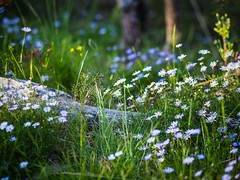
I decided it was time to re-invent my life and instead of restricting myself to 2-3hr return bush walks, I needed to push the envelope and get a new outlook and actually be there for the golden hours at the start and end of the day instead of having to be heading home well before it.
For those reading my earlier blogs on central Australia, you will note that my largely sedentary lifestyle combined with man flu resulted in a lumbar disc prolapse back in August this year but I pushed through this and only a few weeks later with some help from my friends, I climbed up the 360m steep ascent to Mt Gillen near Alice Springs, then walked around Uluru and then followed this with a rocky hike through the Olgas – all of which markedly improved my disc prolapse pain to such an extent, I vowed I would regularly hike up some hills.
My friend then encouraged me to embark on my life changing aspirations and suggested we tackle the “gentle” climb up Mt Feathertop (altitude 1922m making it Victoria’s second highest mountain peak) and camp overnight.
Climbing Mt Feathertop is one of those bucket list items for many Australians as it is relatively accessible and the walk at the top is very enjoyable.
I was very dubious that a guy such as me, who, much to my wife’s disgust, hates the boring gym so much that he can only stand being there for 15 minutes twice a week, would actually make this – yep, 2 minute sprints on a bike at the gym probably is not enough endurance training for this kind of hike – but he did say it is a “gentle” hike.
If I was going to do this, I was going to have to get as much as possible in my favour and this means buying some reliable, light gear and doing some planning as well as taking along 2 fit guys in case I needed them.
Spoiler alert – Yes, I did make it to the peak!
Phase 1 – planning
I needed an ergonomic back pack that would not put too much strain on my neck or back – so after a bit of research I purchased the rather unique New Zealand Aarn Peak Aspiration “body pack” which encourages you to walk upright instead of stooped over as the load is not only mostly transferred to a nicely designed hip belt, but is counter-balanced by 2 packs on your chest in which you carry your camera gear, munchies, and water. These packs are cleverly designed to also place the load on the hip belt and at the same time lever away from your chest to allow air flow and visibility of your feet. I bought the “Long” version which allows some 47L in the rear pack and 6L in each of the front packs. The front packs are purchased separately as there are various designs for different purposes – I bought the regular photo version which is large enough top hold my Micro Four Thirds camera – the Olympus OM-D E-M1 attached to a Olympus mZD 40-150mm lens in one pocket. If you are a dSLR user, you will probably need the Pro Photo version which is larger and better padded but makes the pack very bulky indeed. The back pack does need an experienced user to customise the many fittings to your body shape, and I found that I could slope the hip belt downwards so it it optimised placement over my ASIS point of my pelvis while the buckle sits comfortably BELOW my little paunch which hides the 6 pack which should be there somewhere.
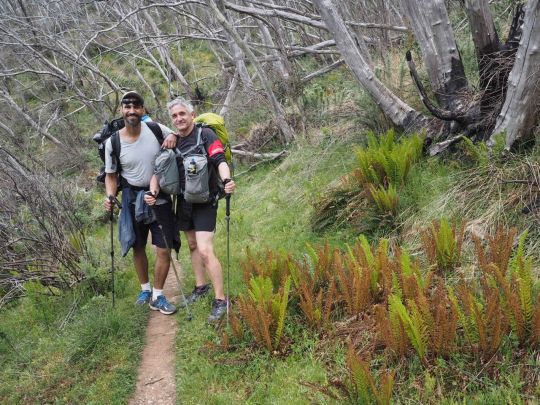
The Aarn Peak Aspiration back pack with Photo pack on the front (Panasonic 15mm f/1.7 lens).
My aim was to be almost self-sufficient (apart from cooking which my friend was providing) and carry around 12kg which for me should make the ascent bearable.
Next I needed a 3 season light, compact, versatile sleeping bag which could be used for any temperature down to 2degC comfortably, and for this I chose the highly regarded Sea to Summit Micro II sleeping bag with 850 goose down and ability to keep foot end open, or open the whole bag into a quilt for thye warmer nights. This weighs about 600g.
For a light but stable, reliable 3 season spacious tent I chose the Big Sky Revolution 2 tent – a silnylon (and thus very slippery but waterproof and light) 2-man tent with 2 porches and although advertised at 1.3kg, actually weighed in closer to 1.5kg.
I picked up a Nemo Astro insulated air mattress on Ebay as reviews rated it well for comfortable sleep although it was a touch heavy at just over 500g, but much more affordable and less noise than the Thermarest Neoair XLite.
Being paranoid I decided to spend big and purchase a Camelbak All Clear UV light water sterilisation kit which weighed an extra 250g and which my colleagues thought was overkill as there would be plenty of water at the camp site, nevertheless, it came along as well as my EPIRB radio beacon, first aid kit, repair kit, extra guy ropes (gale force winds were forecast as 2 cold fronts were passing over that night).
Finally, camera gear. I had hoped to test out the Olympus mZD 8mm f/1.8 fisheye lens on the last of the Milky Way for the season, so I brought it and a small tripod, plus spare batteries, gradient filters and my Olympus mZD 12mm f/2.0 and Olympus mZD 40-150mm f/2.8 lens, the combination of all of these would hit around 3kg – thank goodness I no longer use my heavy Canon dSLR gear.
Unfortunately, when all this plus some warm change of clothes, water and some food is weighed up it came to a potentially back breaking 17+ kg, but I hoped the ergonomic design of my pack would get me over the line – my family just laughed and said I was crazy – maybe they were right!
So an important part of my planning was to have 2 fit colleagues!
Other contingencies to consider:
- re-check the ever changing weather forecast
- ensure you sign the check-in book at the start of the walk and notify your family of where you are going and when you will be back
- wet weather gear
- warm thermals, gloves, beanie to combat the wind chill overnight
- usual bushwalk gear – first aid kit (including blister repair kit), radio beacon, map, compass, water sterilisation, torch, multi-tool, emergency thermal blanket, trowel (probably not needed on this hike), compostable wipes, rubbish bag
- cooking and food gear – stove, pots, cutlery, bowl, hand sterilisation liquid, tea towel, knife to chop veges, and of course food +/- wine
- 3L water container to transport water from source to camp
- Leave No Trace principles
- snakebite bandage
- usual medications if any, and include EpiPen if anaphylaxis is a possibility (eg. bullant bites), plus analgesics, aspirin, NSAIDs
- turn off mobile phones to save battery, consider small USB power pack
- be aware of the constant dangers in summer of bushfires, lightning, etc.
Phase 2 – getting there
Mount Feathertop can be approached via several different walk routes – we chose the “gentle” walk from Harrietville called the Bungalow Spur Walk.
Harrietville is some 340km from outer NW suburbs of Melbourne and takes around 4 hours drive plus time for lunch at the Milawa Cheese Factory, so after departing Melbourne around 9.30-10am after peak hour traffic had subsided, we reached Milawa around 12.30, had lunch then reached Harrietville around 3pm for the start of our alpine walk.
Phase 3 – the ascent
The actual walk from our GPS tracker – yep there are NO flat segments to catch your breath!
Despite it being 3pm, the early Summer sun was quite warm and temperatures were around 28degC – a lovely day as long as you were not carrying a heavy load up a tall mountain!
Hiking gear included broad rim hat, sunglasses, trekking poles (although often these were a nuisance in the many sections of very narrow overgrown trail), waterproof Gortex hiking runners, moisture wicking shirt and shorts active wear, sunscreen. I took gaiters but it was too warm for them and benefits were not sufficient to justify them on this walk and the snakes here were mainly copperheads which are unlikely to bite you unless you tried to capture them or you stood on it.
The walk is a leisurely 10.5km walk and the sign at the start advised one should take time to stop and smell the roses (metaphorically of course – we don’t have roses in our forests), and the walk would ascend 1100m to the camp site where there is a hut for emergency shelter and a rainwater tank. This camp is some 300m below the peak which we planned to do on the next morning.
The three of us set off in high spirits and even I felt pretty good in my new backpack despite the 17kg – but it didn’t take too long for me to realise this was going to be torture for my poor heart – the “gentle” walk was an unrelenting climb which took us almost 5hrs (thanks to my lack of endurance fitness – it would take fit hikers 3-4hrs) – and each time I found a little shade in which to get my heart rate below 150 per minute for a few seconds and catch my breath, my personal fitness trainer encouraged me that the next rest is just around the corner – although it never was just the next corner.
I managed to get 90% of the way (to the Bungalow Hut ruins) before the sun was getting low in the sky and every muscle in my legs started to cramp, so my colleagues took pity on me and jointly carried my backpack up the last steep ascent to the hut only to find the rainwater tank was as empty as our water bottles!
By this stage the temperature had dropped and the wind chill had dramatically increased so it was time to get into some warm gear with some rain protection although we probably only received 1mm overnight.
My colleagues then volunteered to go back the 200m down the mountain side in the dark with head torches to find the little spring past the well marked sign “DO NOT DRINK” – thankfully I had brought along the UV sterilisation unit and it tasted better than any water I have had – dead giardia and all – now to wait the 7 days or so incubation period to see if it worked!
It was too windy and cloudy to test the fisheye out on the Milky Way 🙁
The forecast 35knot winds soon unleashed on our tents and blew all night – I managed to get to sleep by inserting my noise isolating earphones and listening to some Beethoven and although a few times I felt the tent lift in the wind, I awoke in the morning to find I was still in the campsite. My colleagues in their tent did not get much sleep at all – perhaps it was the red wine with the late pasta and chicken, or the balmy warm (10degC) windy night.
The tent, sleeping bag and mattress all performed flawlessly, although some may find the Nemo mattress a touch “bouncy”.
For cooking, we used a MSR Whisperlite Internationale shellite stove which is highly regarded for being reliable in all conditions and worked extremely well.
Phase 4 – the walk up to the peak of Mt Feathertop
After breakfast, despite the occasional light rain shower, we decided to walk up to the peak with just a rain jacket, single trek pole each and our Olympus OM-D weatherproof cameras.
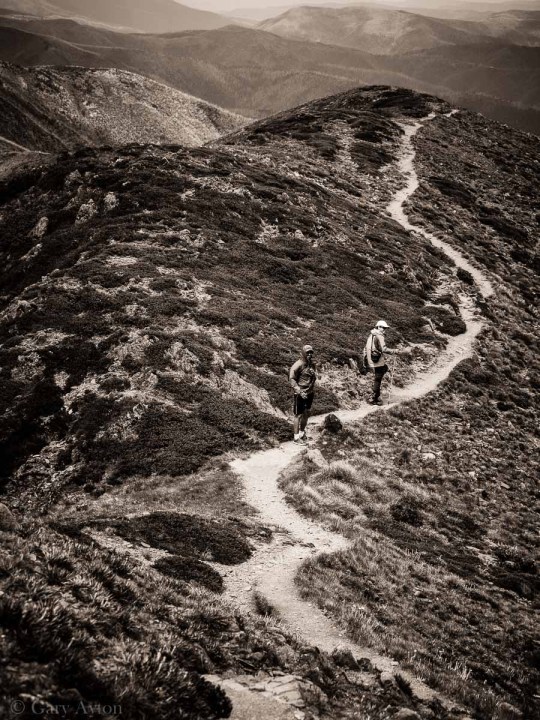
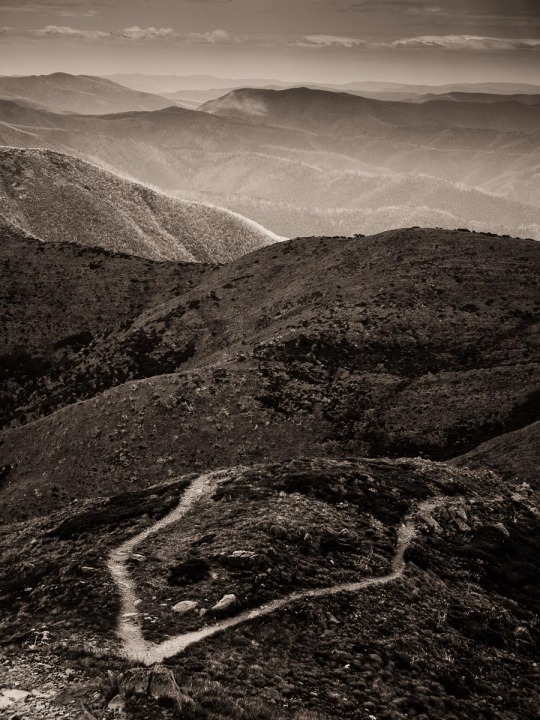
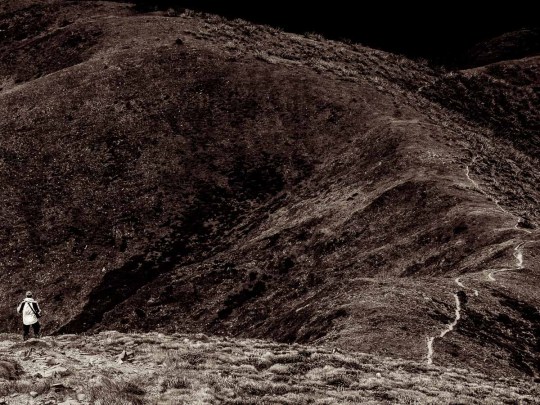
Photographically, phase 3 was not inspiring for me at all, perhaps mainly because of my fatigue, but phase 4 was a different story – walking up that ridge was inspiring and I was making my 40-150mm lens work hard although in the strong wind I had to be extra careful to avoid camera shake.
Not long after we had reached the peak, we saw another band of rain coming and to our surprise, a lightning storm – not a great thing to enjoy when you are the tallest objects on a very exposed highest ridge on the tallest mountain in the storm. We took a few more pics and headed back as quickly as possible to the safety of the hut where he had a quick lunch and packed up.
See here on how to reduce your risks in a lightning storm.
Phase 5 – descent back to the car
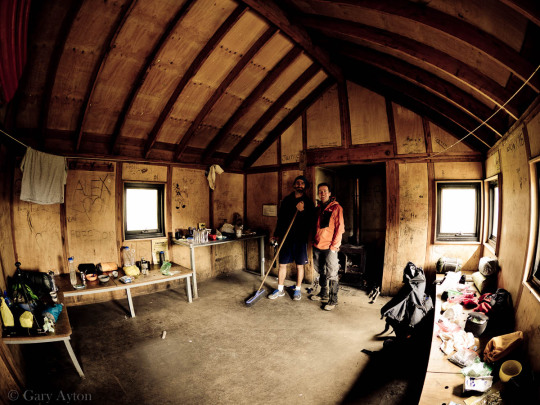
Cleaning up the hut – Olympus mZD 8mm f/1.8 fisheye lens
Hiking back down the trail was vastly different to the previous day’s ascent, I was not troubled by the back pack and could even run some of it – the trekking poles of course were very helpful in taking weight of the knees and for avoiding spraining the ankle when one loses concentration on the loose rocks.
We collected some more water from the trickle of trackside “spring” and sterilised it with the UV kit.
Ironically, just as we were getting into the car, 2 very close lightning strikes made sure we didn’t waste any further time.
The next day, the second cold front produced unseasonal dusting of snow.
I am going to work on trying to get the weight down further – prhaps the Panasonic 35-100mm f/2.8 lens instead of the Olympus 40-150mm lens as a start.
More of my info on ultralight bushwalking on my wiki
More info on hiking to Mt Feathertop on my wiki
WARNING – if you are sedentary and over 35 years of age, DO NOT DO a strenuous hike like this without getting the OK from your doctor first – if you have coronary artery disease, such an activity is the perfect way to have a sudden death and your family won’t be happy! I know my heart can cope, nevertheless, on the way down, I took a NSAID to help with muscle soreness, and to offset its potential to increase the risk of heart attacks, I also took 300mg aspirin.
Disclaimer: I am NOT sponsored by any of these manufacturers or retailers and I purchased all items.


