photo:occultations
Table of Contents
photographing astronomical occultations
see also:
my photos of planetary occultations by the moon
Feb 2013 occultation Jupiter - initial partial occultation phase
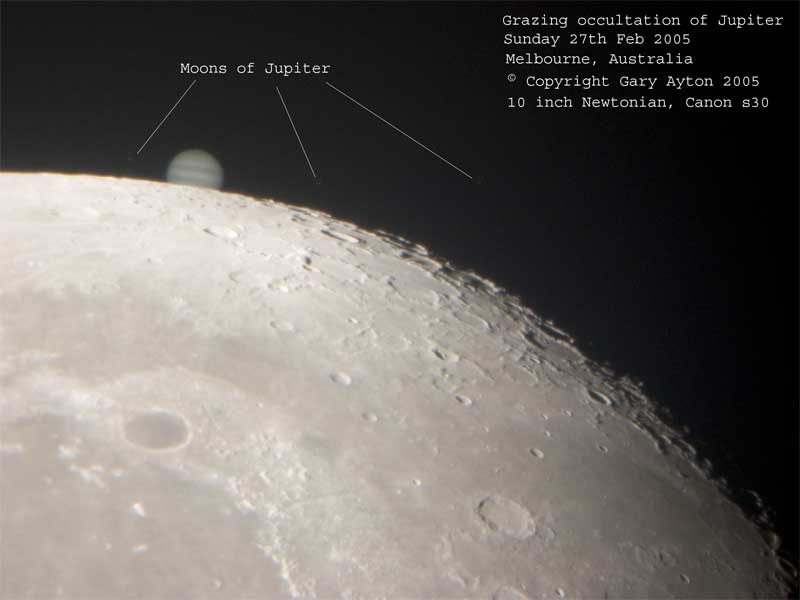
Feb 2005 grazing occultation Jupiter
Oct 2003 Mars occultation
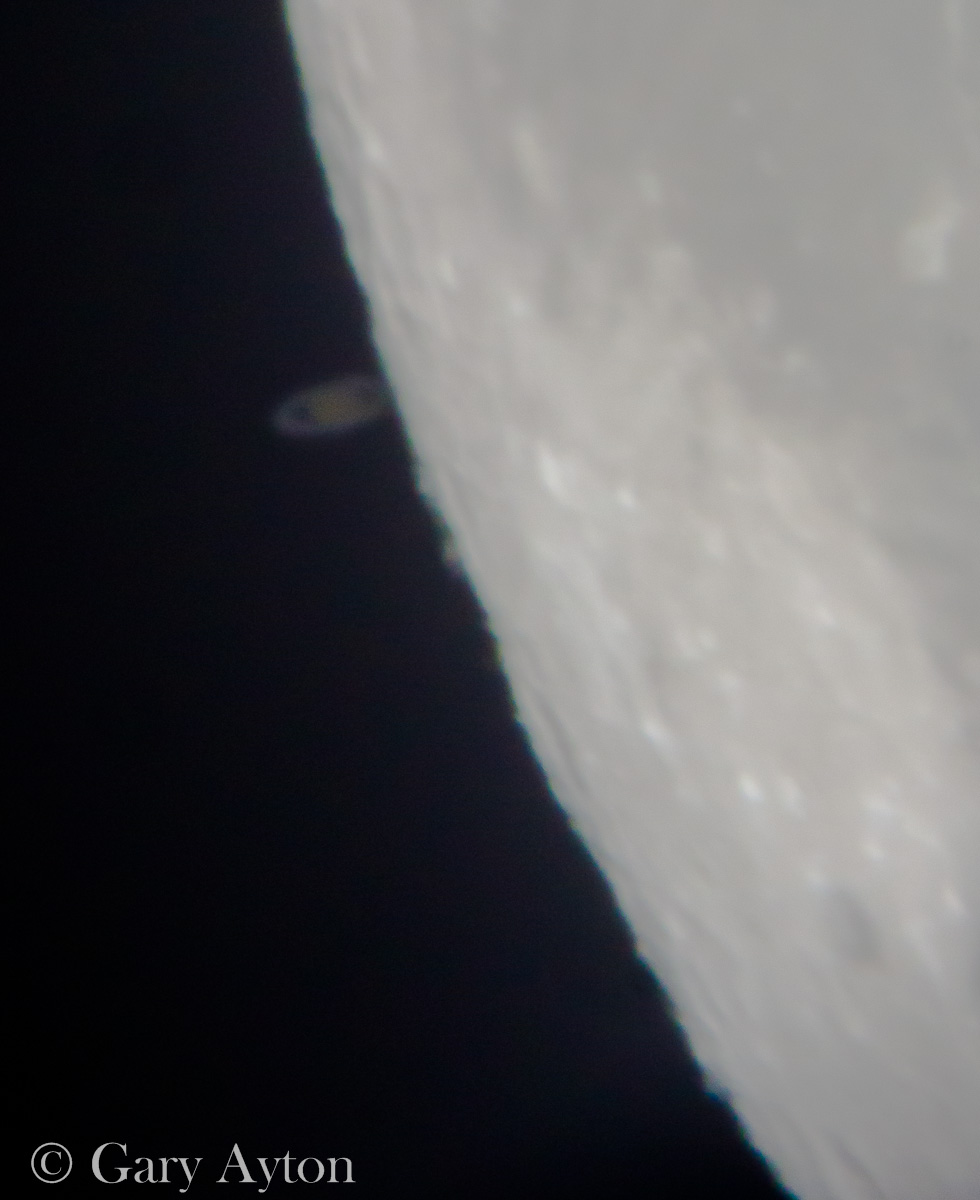
Saturn occultation May 2014
- lunar occultation of Saturn Aug 4th 2014 visible from mainland Australia and Indonesia?
- in Melbourne: disappears 2124hrs AEST and reappears 2152hrs
- see:
introduction
- an occultation occurs when one astronomic body passes in front of another one (neither body being the Sun in which case it is termed an eclipse)
- the ones to photograph in are the moon passing in front of a bright planet such as jupiter, venus or mars in particular
- these are relatively common events but only small parts of the world will see each event and those at the edge of these areas will see what I prefer - grazing occultations where the distant object just touches the moon but doesn't disappear fully behind it, or at mid-occultation is within 4“ from the limb of the moon.
interpreting astronomic data of lunar events
- time of the event is given in universal time (UTC)
- phase of the event refers to either the initial disappearance or the later reappearance on the other edge of the moon
- mag = the planet or star's visual magnitude (how bright it is)
- %illum = percent of moon that is illuminated. If followed by a +, values are for a waxing moon, - for a waning moon
- elon = elongation of the moon from the sun in degrees
- sun alt at phase of event for a given site = altitude of the sun (minus values indicate sun has set, no values usually means sun is more than 12 deg below horizon)
- moon alt at phase of event for a given site = altitude of the moon above the horizon (for high resolution photography, you want it as high in the sky as possible to improve “seeing” conditions)
- moon az at phase of event for a given site = azimuth of the moon
- ca = cusp angle = the angle of the event around the limb of the moon measured from the nearest cusp. -'ve values indicate a bright limb event. The cusps are usually n (north) or s (south).
- pa = position angle = the angle of the event around the limb of the moon, measured from true north - values close to 360 or 180 indicate almost a grazing event
- wa = watts angle = the angle of the event around the limb of the moon, measured eastward from the moon's north pole. This is essential for reappearance, as it locates the event with reference to lunar features, allowing one to track the telescope on that feature waiting for it to reappear.
- a = coefficient for correcting the prediction for changes in site location.
- the units are seconds of time per minutes of arc.
- the correction to the prediction for a change in site, in seconds of time, is found by multiplying a by the change in site longitude (in minutes of arc, +'ve to the east) from the prediction site.
- b = same as for a, but for changes in latitude (+'ve to the north).
photographing the occultation
medium magnification view before disappearance behind dark limb of moon
- this shot can be extremely effective as one can expose for Jupiter's moons which will hopefully be lining up nicely and although the lit part of the moon as well as jupiter itself being very over-exposed, the dark limb of the moon will be exposed sufficiently to see some detail.
- this can be done using a good super telephoto camera lens of about 1000mm focal length on a tripod
- if the moon is setting, you may be able to hide some of the over-exposed moon behind trees to create an aesthetic silhoutte effect
- likewise clouds coving the moon but not the jovian moons can help reduce contrast and add to the aesthetics
- an exposure of ISO 400, f/8, 1 sec is usually adequate for the jovian moons - make sure you have mirror lock up and self-timer if using a dSLR
high magnification views
- this requires significant magnification and thus a photograph THROUGH a telescope, preferably by eyepiece projection, or if using a compact digital or smartphone, then the afocal method maybe possible
- if using a reflecting telescope it should be collimated priot to the event to optimise image quality
- the telescope should be left outside for some hours to cool down and equilibrate with the environment to reduce internal poor seeing conditions
- precise polar alignment is not required as exposures will be brief
- exposure for jupiter is about ISO 400, f/8, 1/1000th sec assuming no atmospheric extinction - longer exposures will be needed as you get closer to the horizon.
- if the jovian moons are adjacent the dark limb of the moon, then you can also take exposures for them but these will be about 1 sec, ISO 1600, f/20 and this will over-expose jupiter and lose detail on it.
- the moon diameter is about 0.5° and jupiter's apparent diameter is about moon = 0.01°
- the magnification required is such that only about 1/2 of the moon takes up your image frame, this means your smallest dimension of your image frame needs to cover only moon = 0.25° or so, and for a full frame camera, this means an effective focal length of about 5000mm!!
- using a 10” Newtonian, full frame you will then be shooting at f/20 = ISO 1600, 1/600th sec
- using a 3“ refractor, full frame you will need to be shooting at f/66 = ISO 6400, 1/300th sec or so
- at telescope effective actual focal length 5000mm, jupiter will cover 0.9mm of the sensor, thus with a Nikon D800, jupiter will cover 150 pixels, while on an Olympus E-M5 with the same set up, jupiter will cover 240 pixels as it has greater pixel density on the sensor
- to address the blurring effects of poor seeing at this magnification, one should consider shooting fast burst or video mode and then selecting out the sharp frames.
- the usual technique in photographing jupiter is to stack multiple frames (eg. using Registax software) taken over a period of 1 - 2 minutes at 10-60fps (longer than 2 minutes and jupiter's rotation will start blurring the details) - unfortunately this will be much shorter during an occultation as you have the moving moon to contend with. The image is then sharpened using sharpening software which uses wavelets or deconvolution.
photo/occultations.txt · Last modified: 2014/08/04 07:39 by gary1


